


小伙伴们你们知道在photoshop如何制作穿插效果的海报艺术字体呢?今天小编很乐意与大家分享photoshop制作穿插效果的海报艺术字体的详细方法,感兴趣的可以来了解了解哦。
photoshop制作穿插效果的海报艺术字体的详细方法
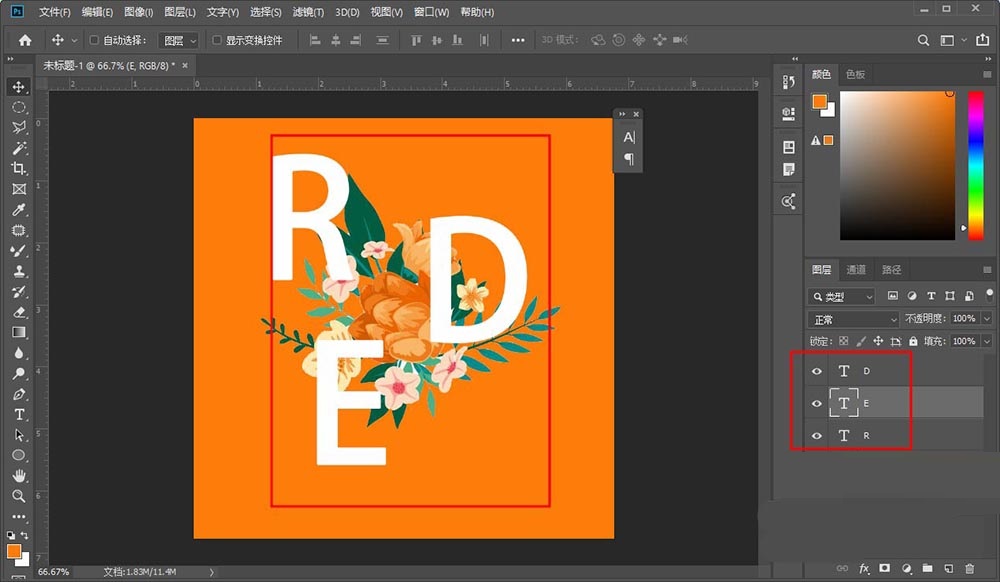
1、打开photoshop,新建一个画布导入一张素材

2、输入一个英文单词,每一个字母为一个图层
3、在给每个字母图层添加一个蒙版
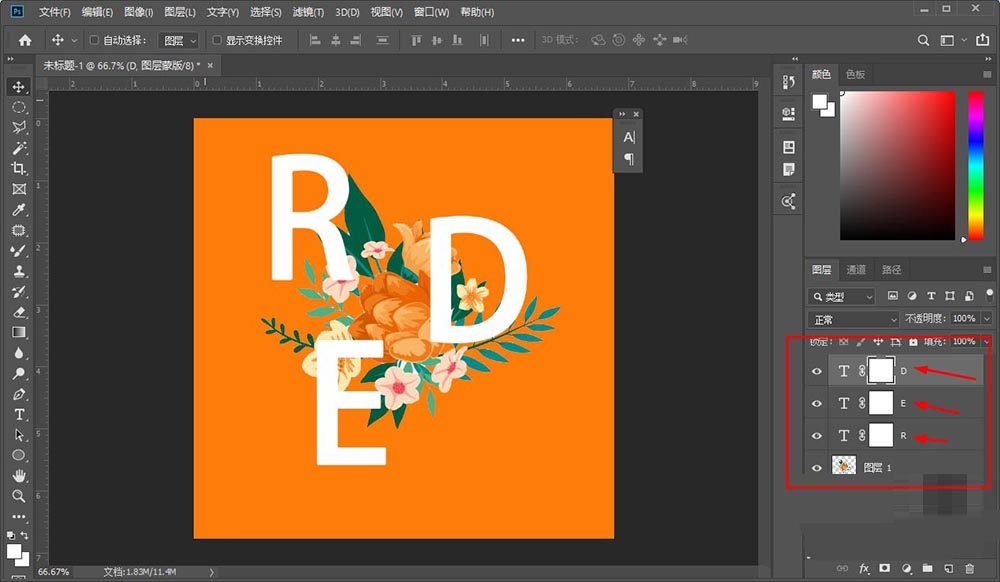
4、按住ctrl键,单击图片图层调出选区
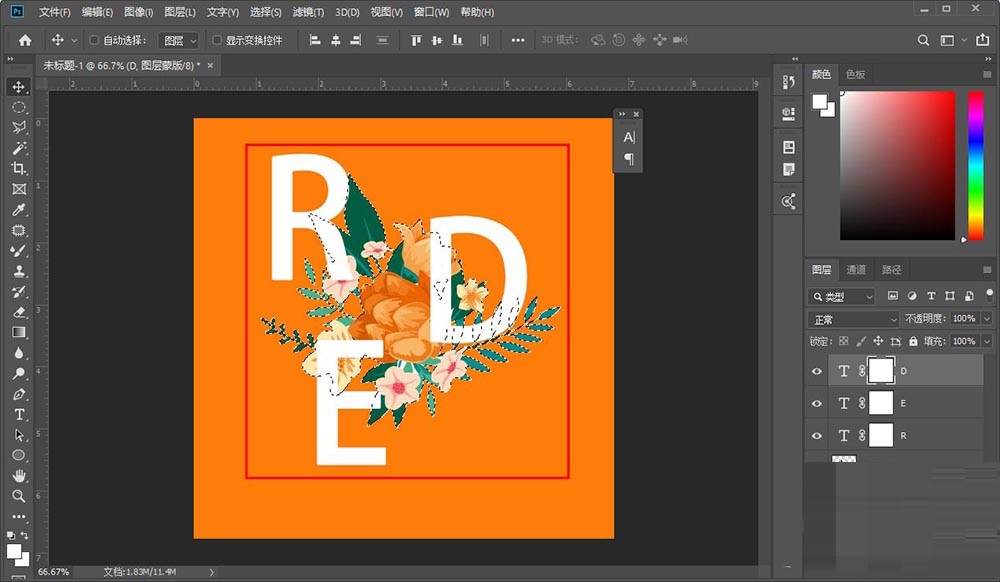
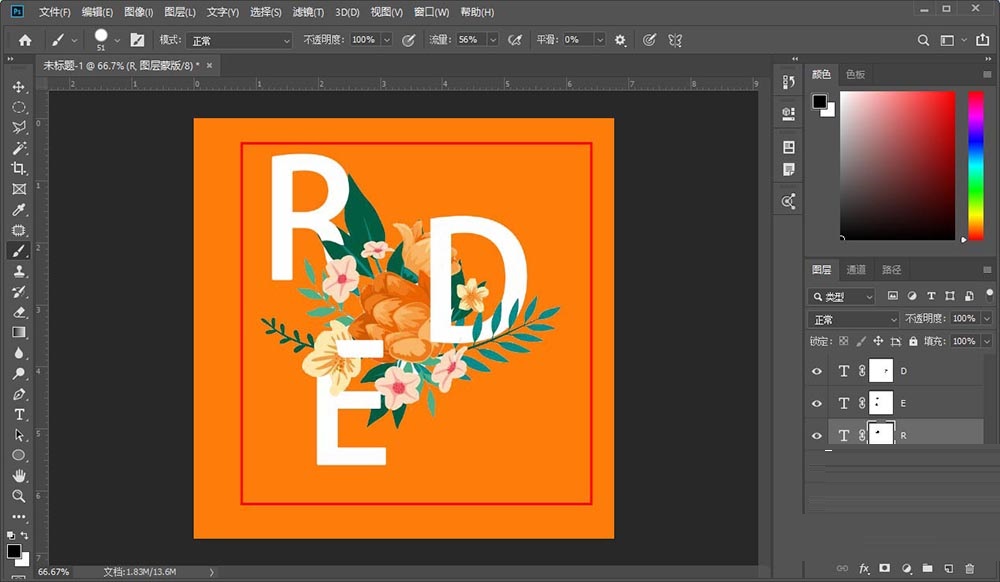
5、设置前景色为黑色,选中画笔在蒙版上涂抹想要穿插的部分

6、然后ctrl+d,取消选区,这样穿插文字就制作好了
还不会使用photoshop制作穿插效果的海报艺术字体的朋友们,不要错过小编带来的这篇文章哦。